Tips For Better Maker Photography - Backgrounds & Composition
/
I am so excited you guys because it is Friday and that means it is Photo Finish Friday!!!! HECK YEAH!
And that means one of my favorite humans Katiusca of Between These Stitches is back to share her photo brilliance with us.
Feel free to share in comments your photo tips, experiences or any questions you may have!

So last week we talked about how I use light and what I use to manipulate light. This week I wanted to talk about backgrounds and how a background will also change the look of an image as well as affect how light is reflected on it.
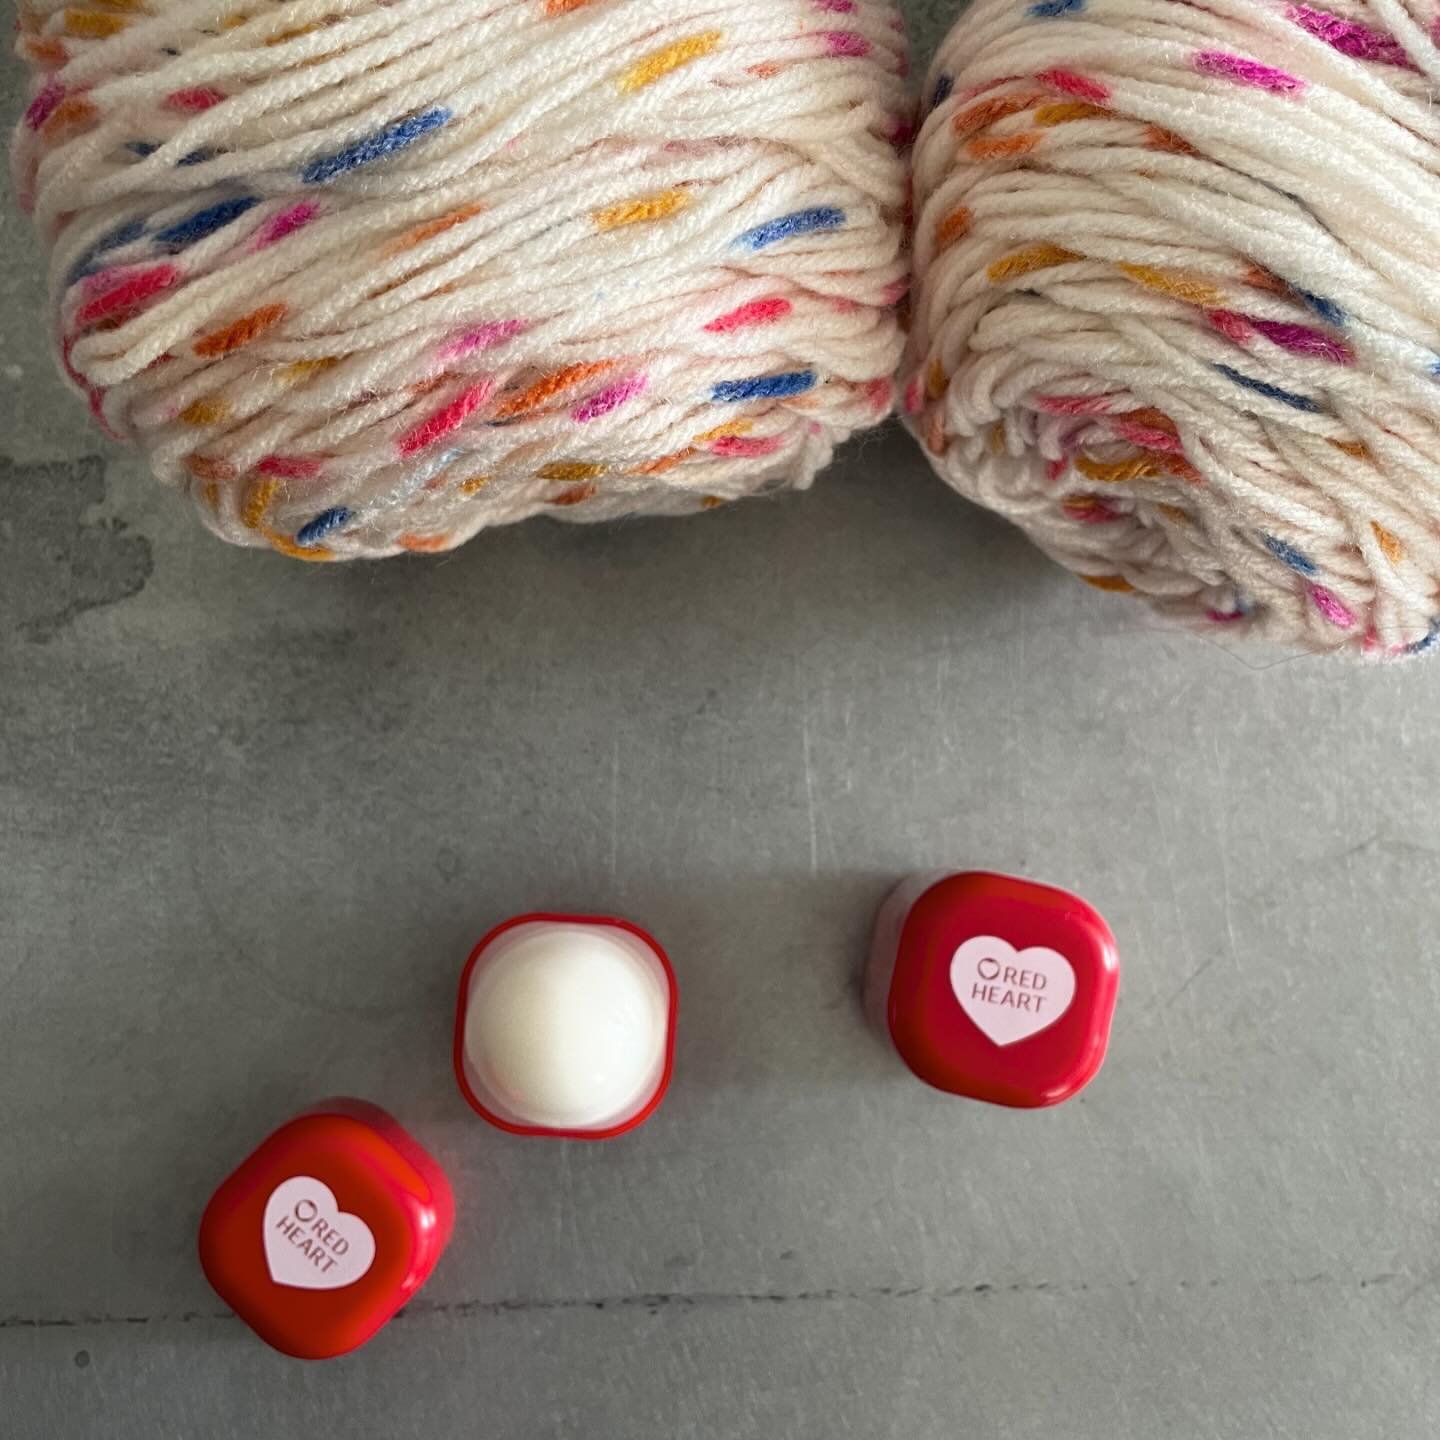
For this post, I used the same hand dyed yarn to give you an idea of how I could use different backgrounds to show off the yarn. There are many things you can use as a background to take pictures of your fiber art. I usually prefer to take my pictures outdoors, or indoors in the same area. As I talked about last week, I have a particular area of my home in which I take the majority of my photographs', especially in the winter.

Some of the backgrounds I use include my wall, painted a neutral grey (as you see in the image above). I also use card stock, pretty papers, or wooden planks that I painted. Today, I am going to show you how a piece of card stock, and one set of wooden planks, can make a difference in how your fiber art looks and feels.
The first image of this post shows the hand dyed yarn on a wooden plank. I love using this background for most of my images. There are several reasons for this. The first is that it is a neutral color. It is a grayish color or "griege" and is light enough to go with most any color yarn I choose. It is also the color of my walls in this particular area of my home so it keeps my images looking consistent. The planks themselves are wooden planks that I had left over from other projects. Since they were lying around I decided to use them for my fiber art images.

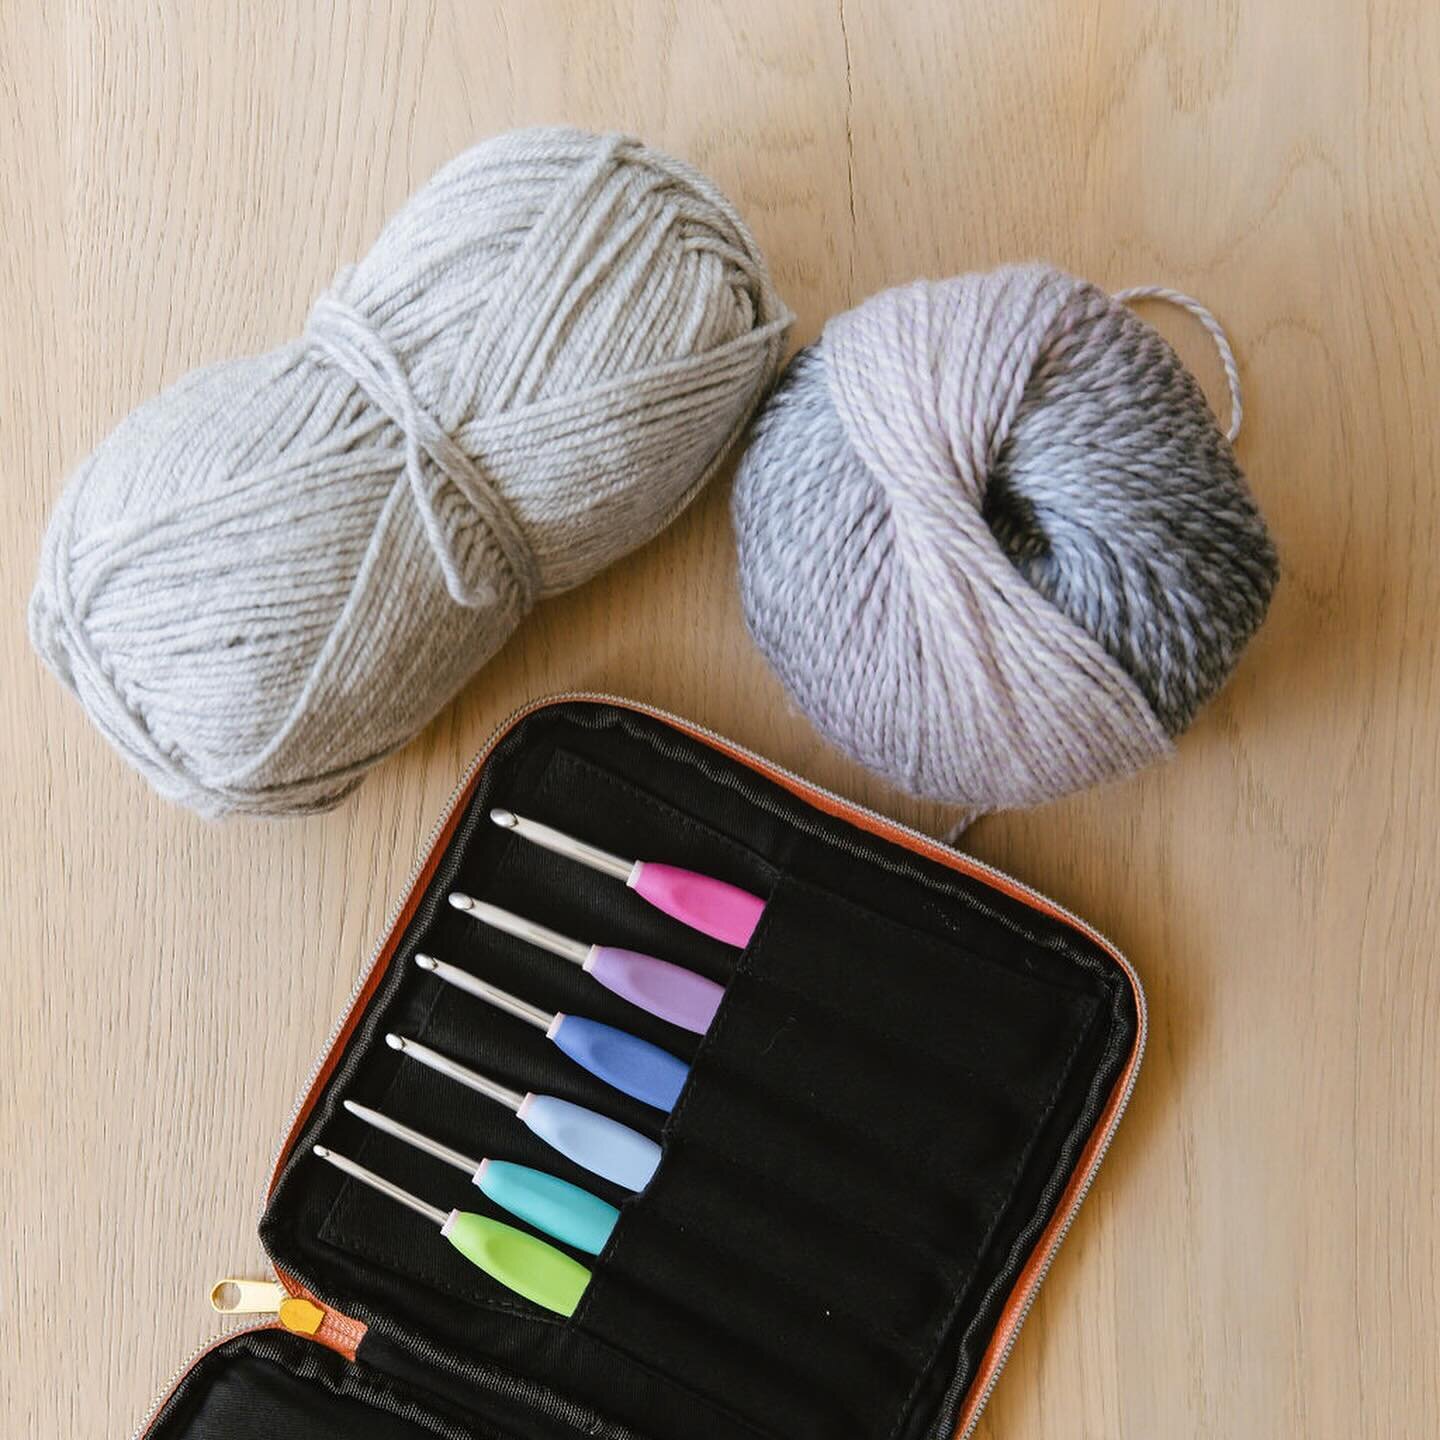
The wooden planks I use are made of maple. The planks are stained on one side and painted the griege color on the other. I love that the planks are versatile and can give me two looks all from one piece. Below is an image of the same yarn on the same planks but this time you can see how the stained side allows the pink dyed yarn to stand out more than on the griege side.

If I wanted more a moody feel, or just a different contrast, I would use the stained side of my planks. The darker color does not reflect light but still allows light colored yarns to stand out. I love this side of the planks for its more earthy feel. In addition to the wooden planks, I tend to photograph my yarn projects on card stock.

You can use any size card stock. I have a large sheet that I bought at my local craft store. Not only is the white card stock versatile and looks good with any color yarn, but it is also cheap and can be used as a reflector when not in use to reflect light onto your images. The versatility of card stock is great because there various colors you can use. A colored card stock would help create contrast between colors (think opposing ends of a color wheel) or a black card stock could be used to stop light and create moody images that may be the look you are looking for!
Experiment with different colored backgrounds to figure out the right one for you. Don't be limited by any one color but do keep in mind that some colors can clash and that the simpler your background the easier it is to see what you have photographed. If your goal is to get images of yarn, the simpler the background, the better. What backgrounds do you use? Which are your favorites?
Tune in next week as I talk about photographic angles.
-Katiusca