Tips For Better Maker Photography - Lighting Your Fiber
/
I am so excited you guys because it's Friday and that means it is Photo Finish Friday!!!! And that means ... one of my testers, fiber friends and all around favorite humans Katiusca of Between These Stitches is back to share her photo brilliance with us. HECK YEAH!
Please to share in comments your photo tips, experiences or any questions you may have so Katiusca can answer them in a future post!

Last week we talked about how Photography is light. Light is what makes or breaks an image (sort of speak) because light is what your camera uses to take an image. In photographic terms, the light I have been speaking of is called exposure. Exposure is about how certain camera settings, when used together, create the right amount of light allowing the camera to capture an image that will look pleasing to the eye. This “pleasing” effect is what is deemed as correct exposure. Of course, pleasing can be subjective, but in general terms, the correct exposure has a mix of all of the right settings that a camera uses on auto to get what it thinks is the right image based on the light available to it at the time you click the shutter.
The settings a camera uses to get the right exposure are called ISO, aperture, and shutter speed, These settings are three settings on all cameras and even camera phones give you a way to change some of these settings even if they do not call it ISO, aperture, or shutter speed. This week, however, I want to show you how I experimented with light and how the direction and quality of that light changed how my image looked.

I take pictures of the items I want to photograph in the part of my house that has the most light. As I have studied the light in my house I have noticed that I get the best light by a long hallway near french doors. I use those french doors to direct and move light around my home.

I also use a small table and white card stock as my background. I prefer light, clean, and airy looking images and so anytime I use a different background it usually has a purpose.

I use a white background because white provides a lot of light and can act as a reflector. Photographers use reflectors all of the time to bring in light where there is none, or more is needed. I also use polystyrene boards as reflectors. I bought those many moons ago when I worked as a photographer and I currently use them to help light my knit and crochet projects. What I like about the polystyrene boards is that they have a silver side and that is the side I use to add light to any image I take.

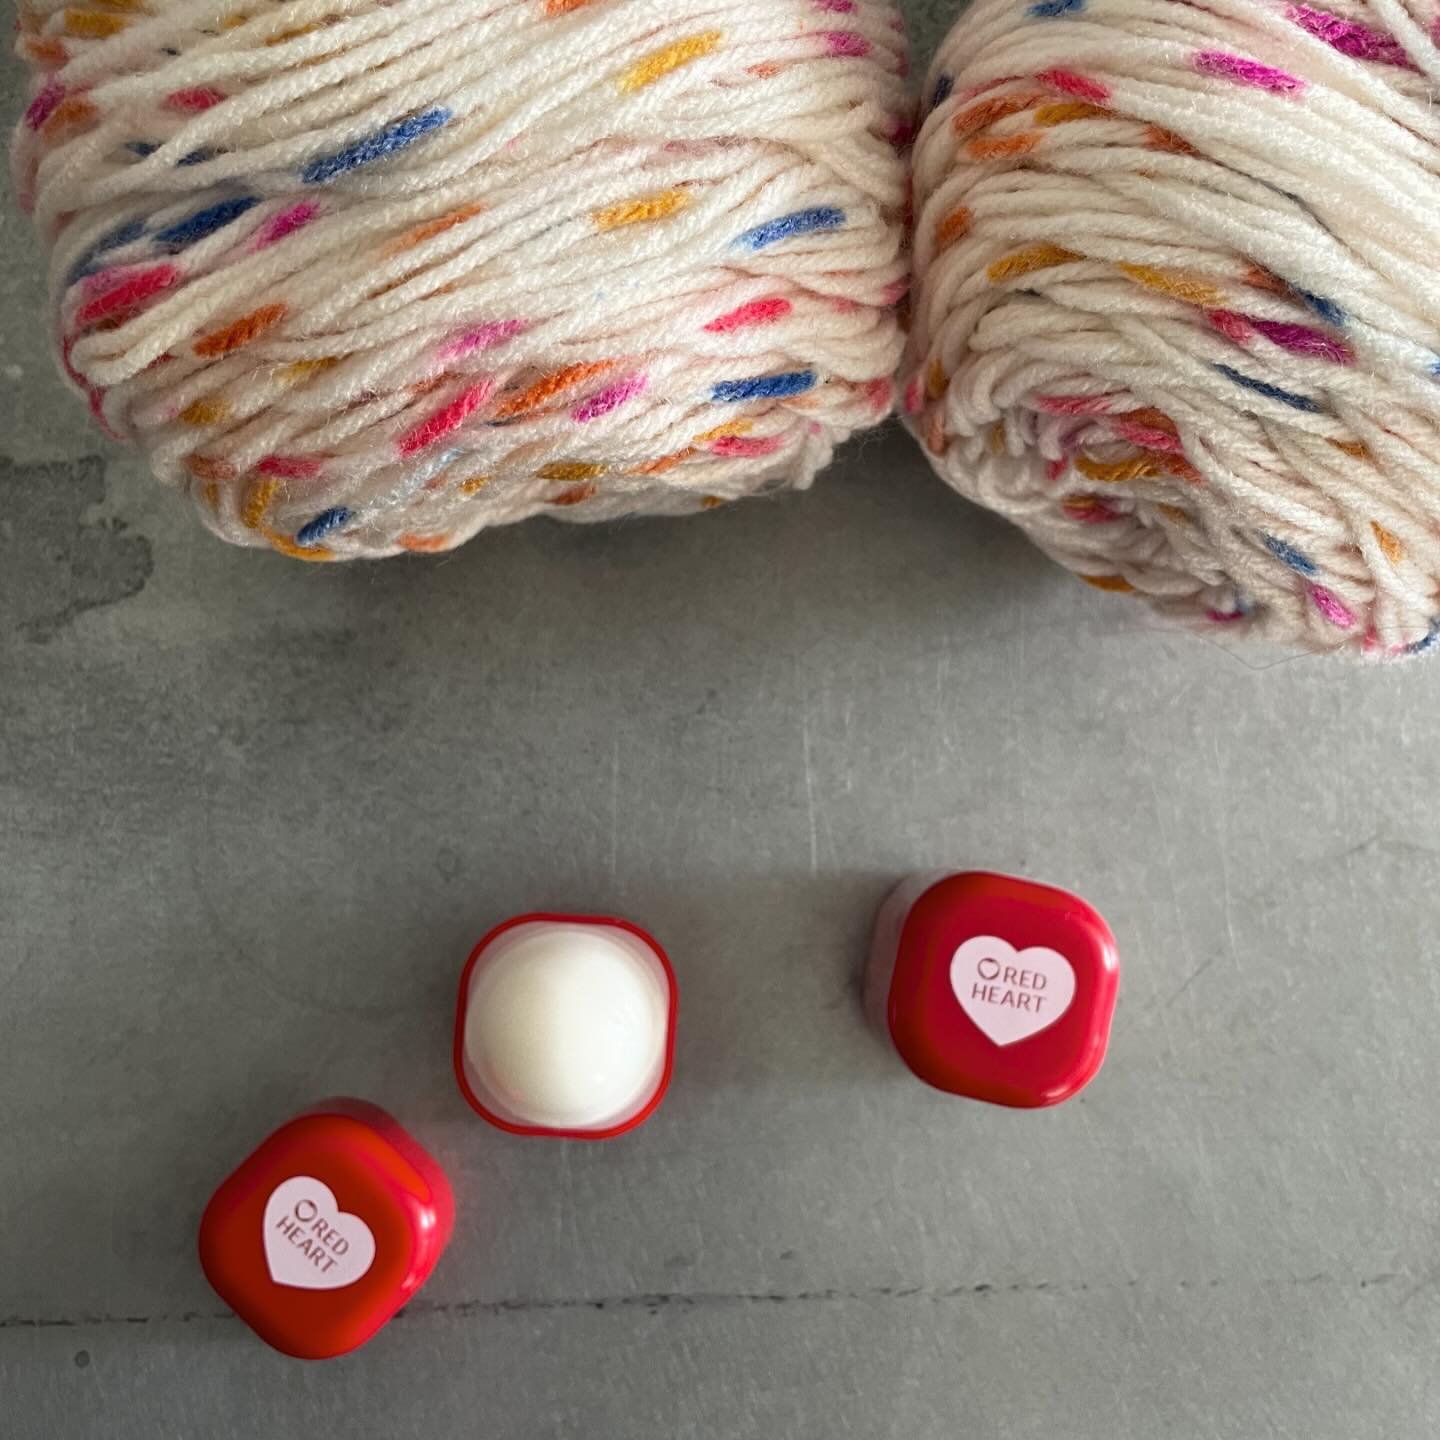
For this post I decided to show you how I added light to hand dyed yarn. The first thing I did was place a table with card stock on top in front of the french doors. I use this area specifically because the light was not directly head on so it was rather diffused (although you will notice snow on the ground which means that there was more light being reflected into my home). I then place the hand dyed yarn on top of the card stock and positioned my polystyrene boards on either side of the yarn. I often have to adjust the boards to shine light where I want it but for the most part the boards are really good at directing light straight onto an object.

After everything is set up I then proceed to take pictures of my yarn. For this post I took pictures with my Nikon DSLR. Below I will show you three images so that you can understand how I directed light onto my yarn.
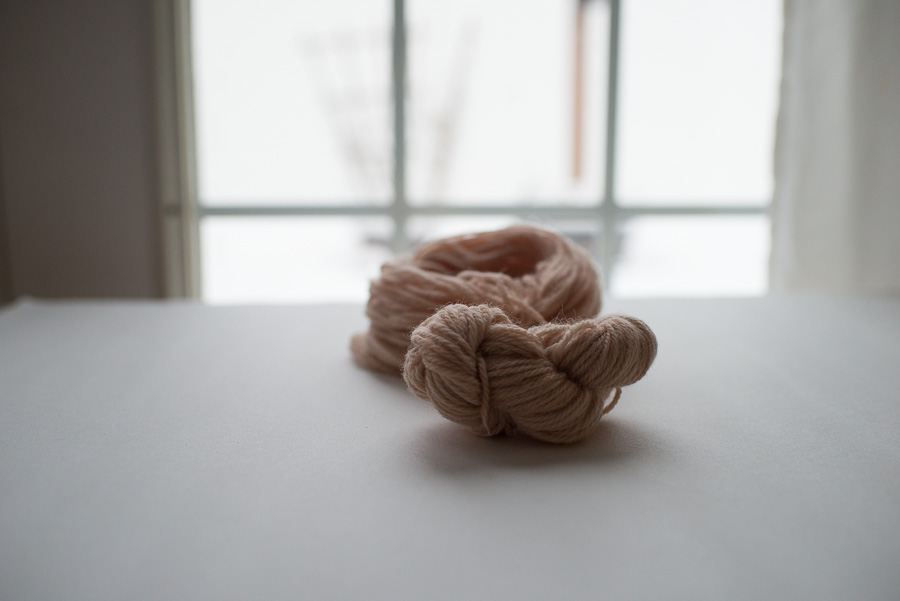
In this first image I simply took a picture of the yarn without the boards.

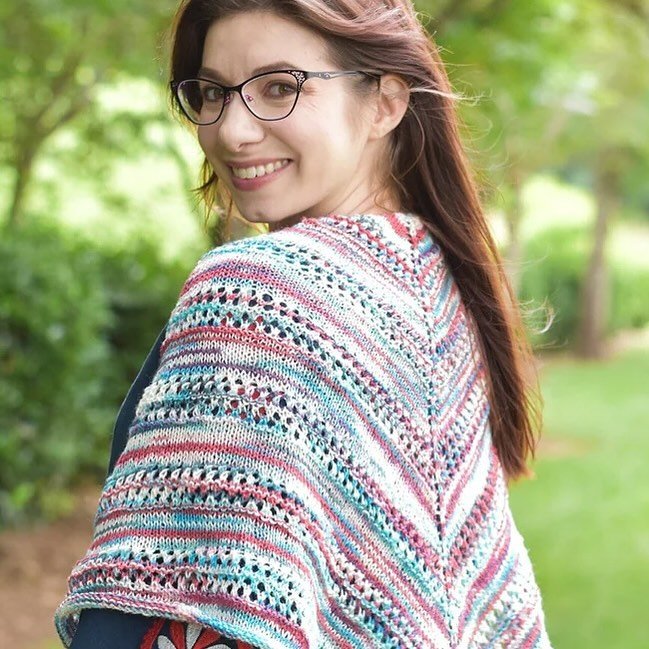
In this second image I took pictures of the yarn with only one polystyrene board. Notice how it added more light to the image but still not enough.

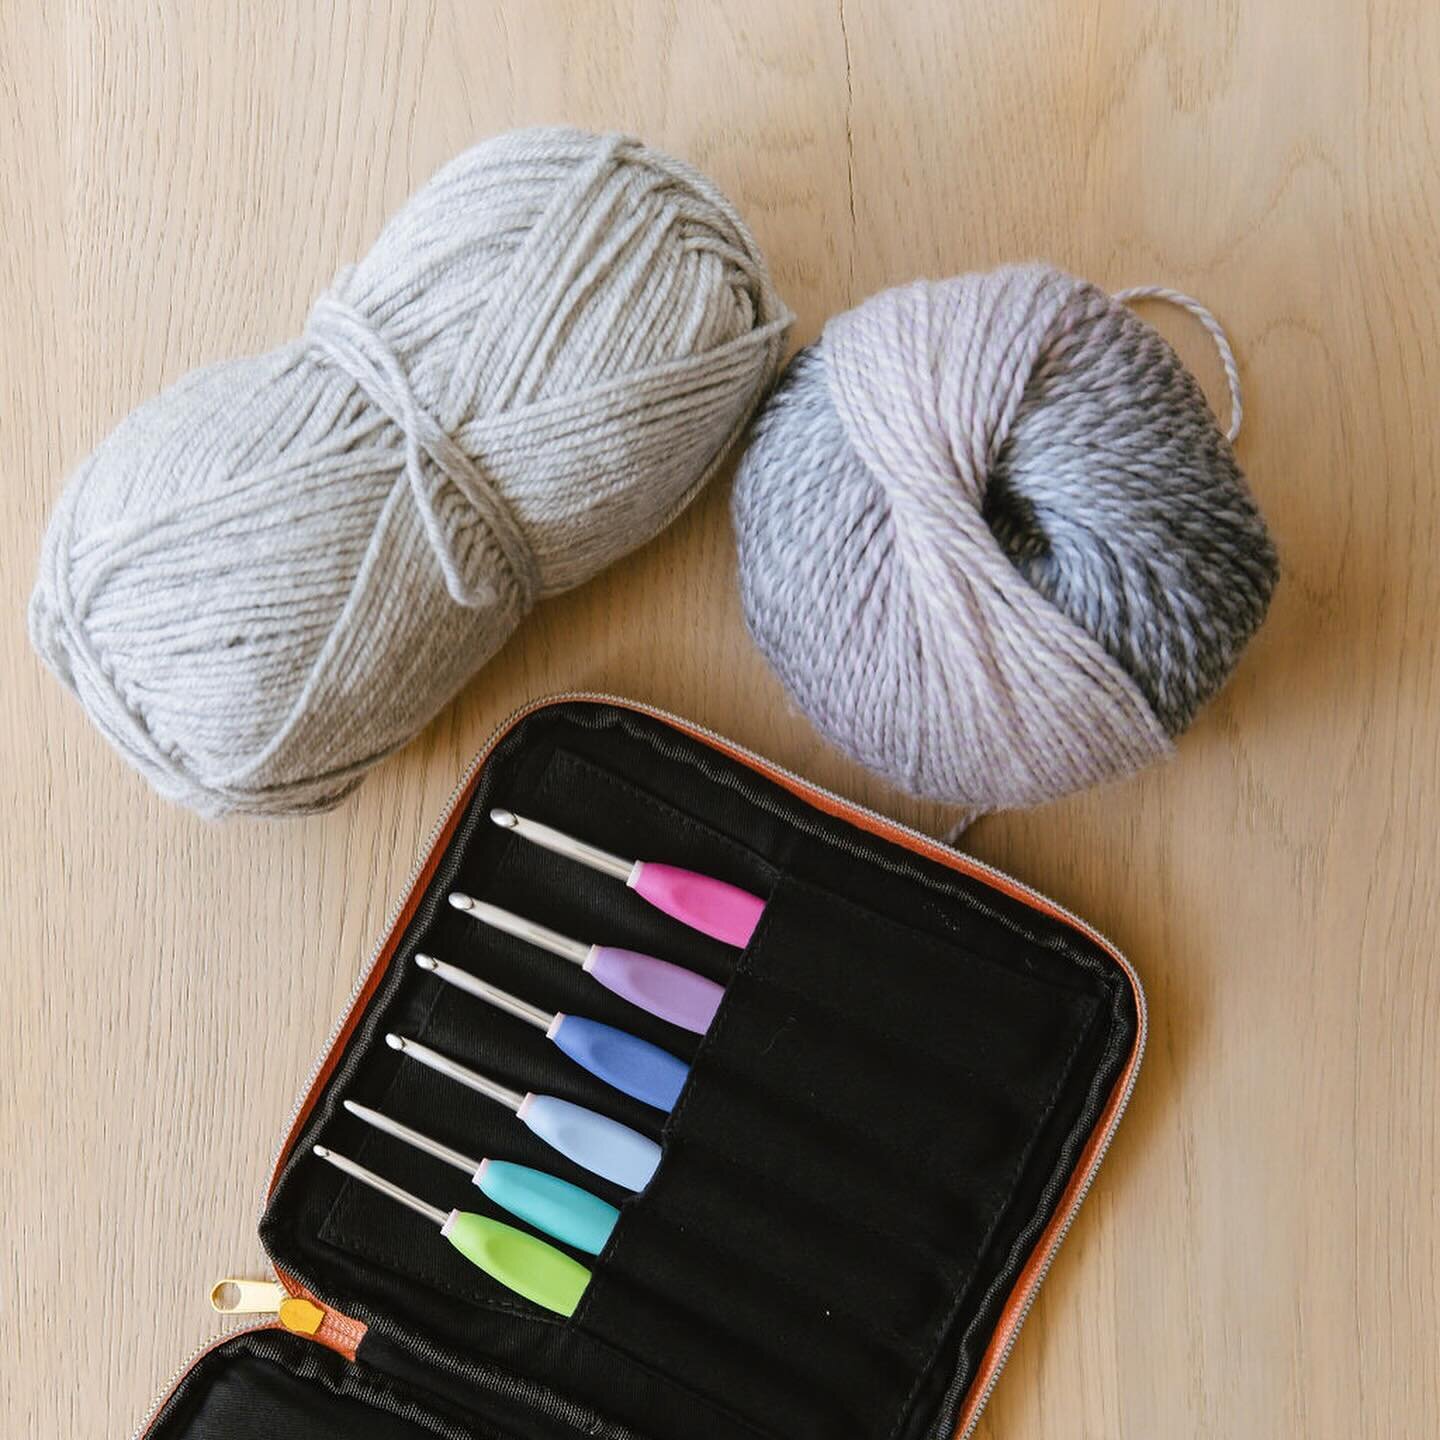
In this third image I added the second polystyrene board. Notice how there is much more light on the yarn.

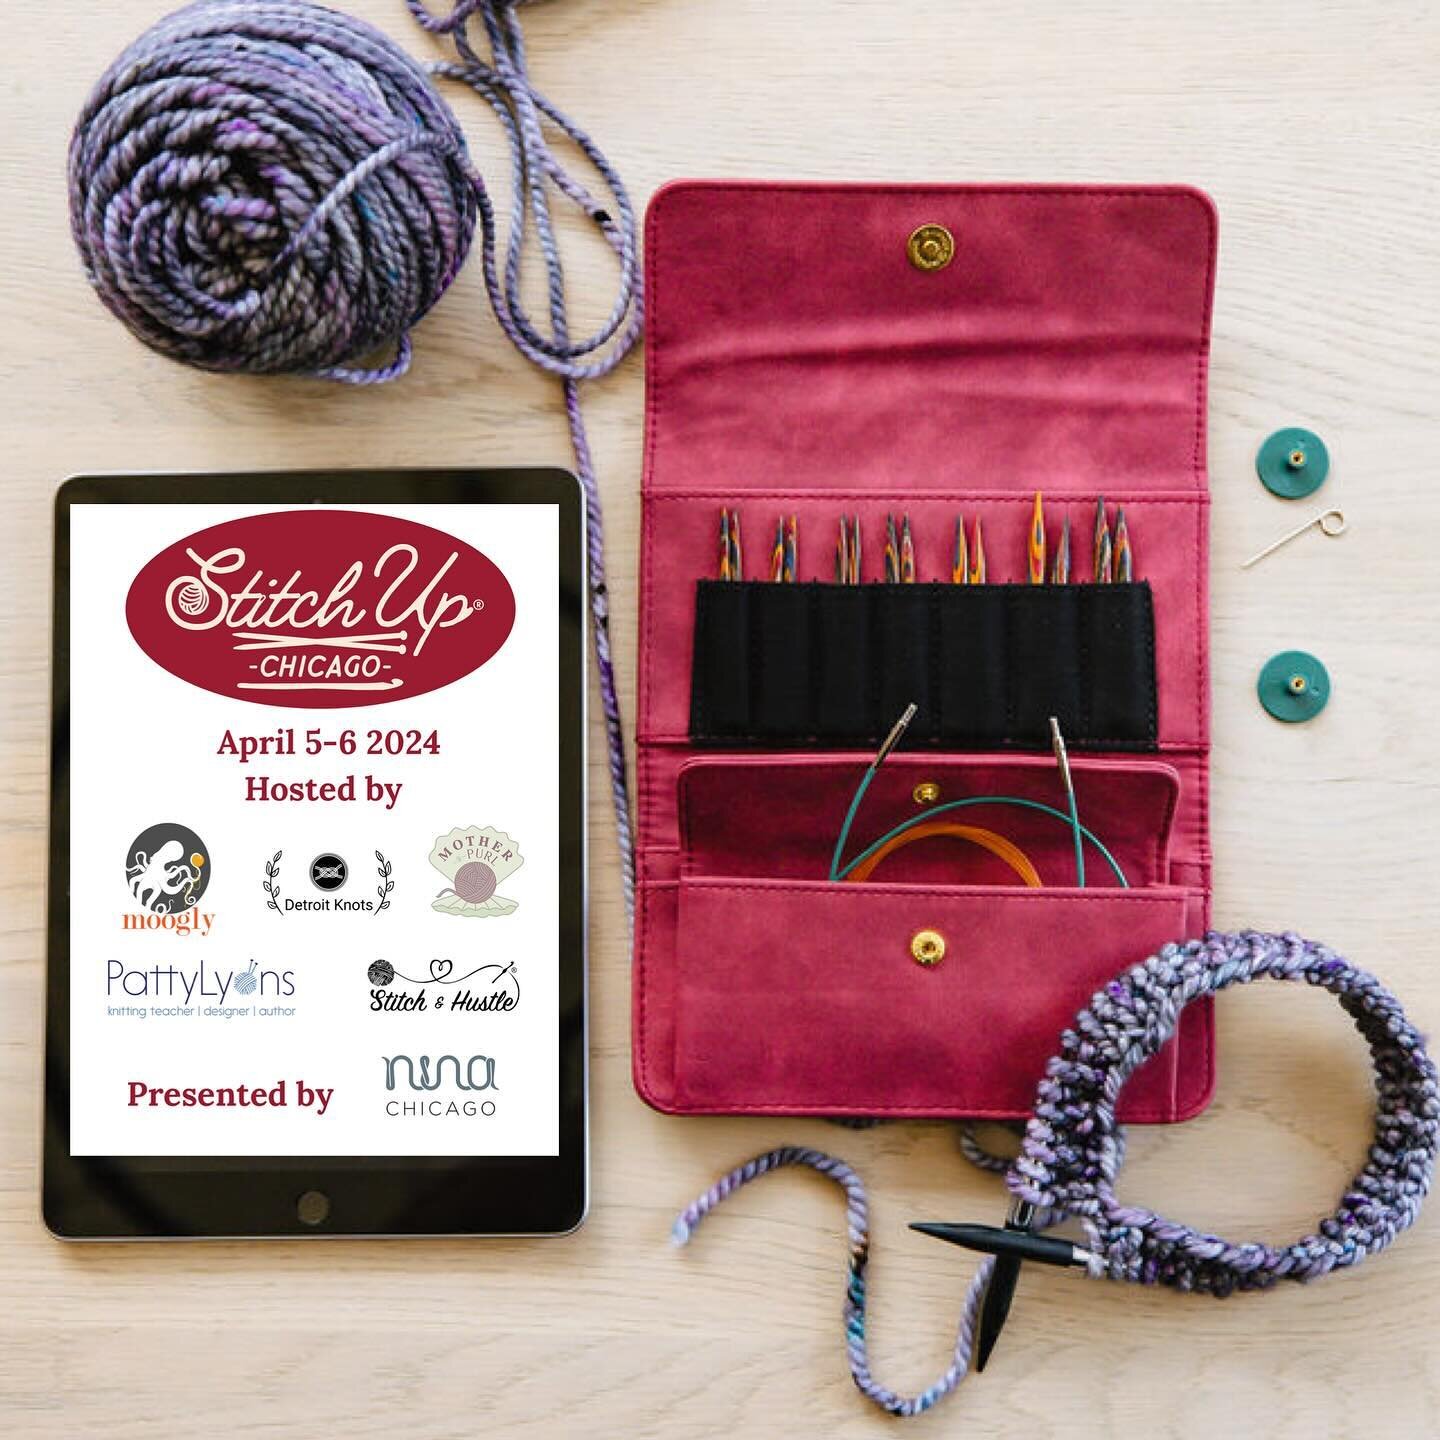
In this final image you see the yarn as I took a picture from the top with the light from the french doors and the two polystyrene boards. The board really helped provide light to avoid any dark shadows and give the image the light and airy feel I like. All there of these images are what photographers call "straight out of camera." I did not edit the images so that you can see how the polystyrene boards added light to my image.
You can achieve a similar affect of the polystyrene boards by using white card stock. For dark and moody images you can use black card stock, which will diminish light. Of course, using card stock or polystyrene boards are only one way to direct light onto your images.
Next week I will show you some of my favorite backgrounds, where I use them and how.
-Katiusca