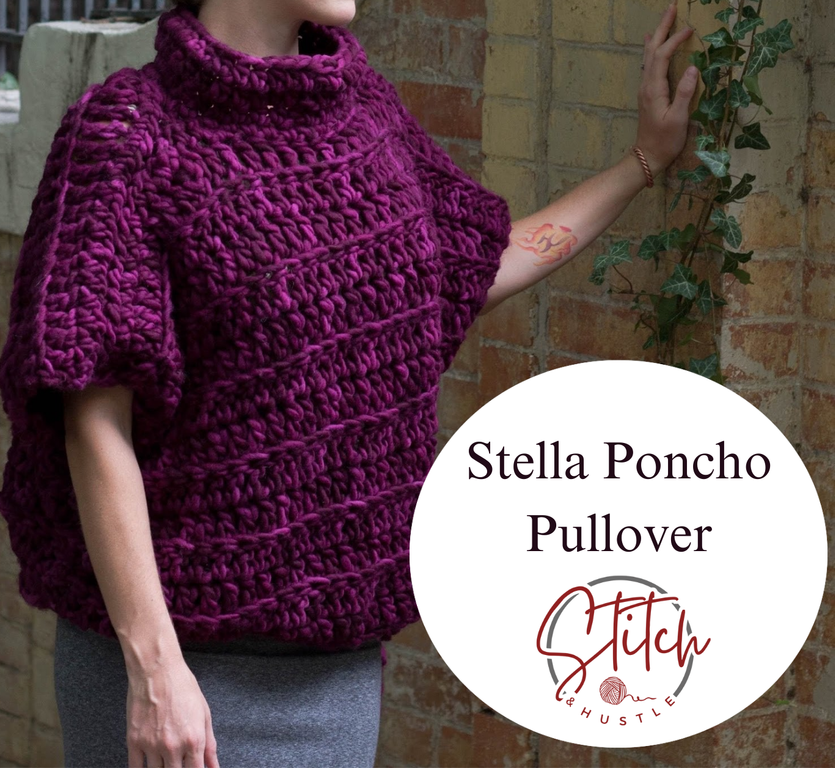
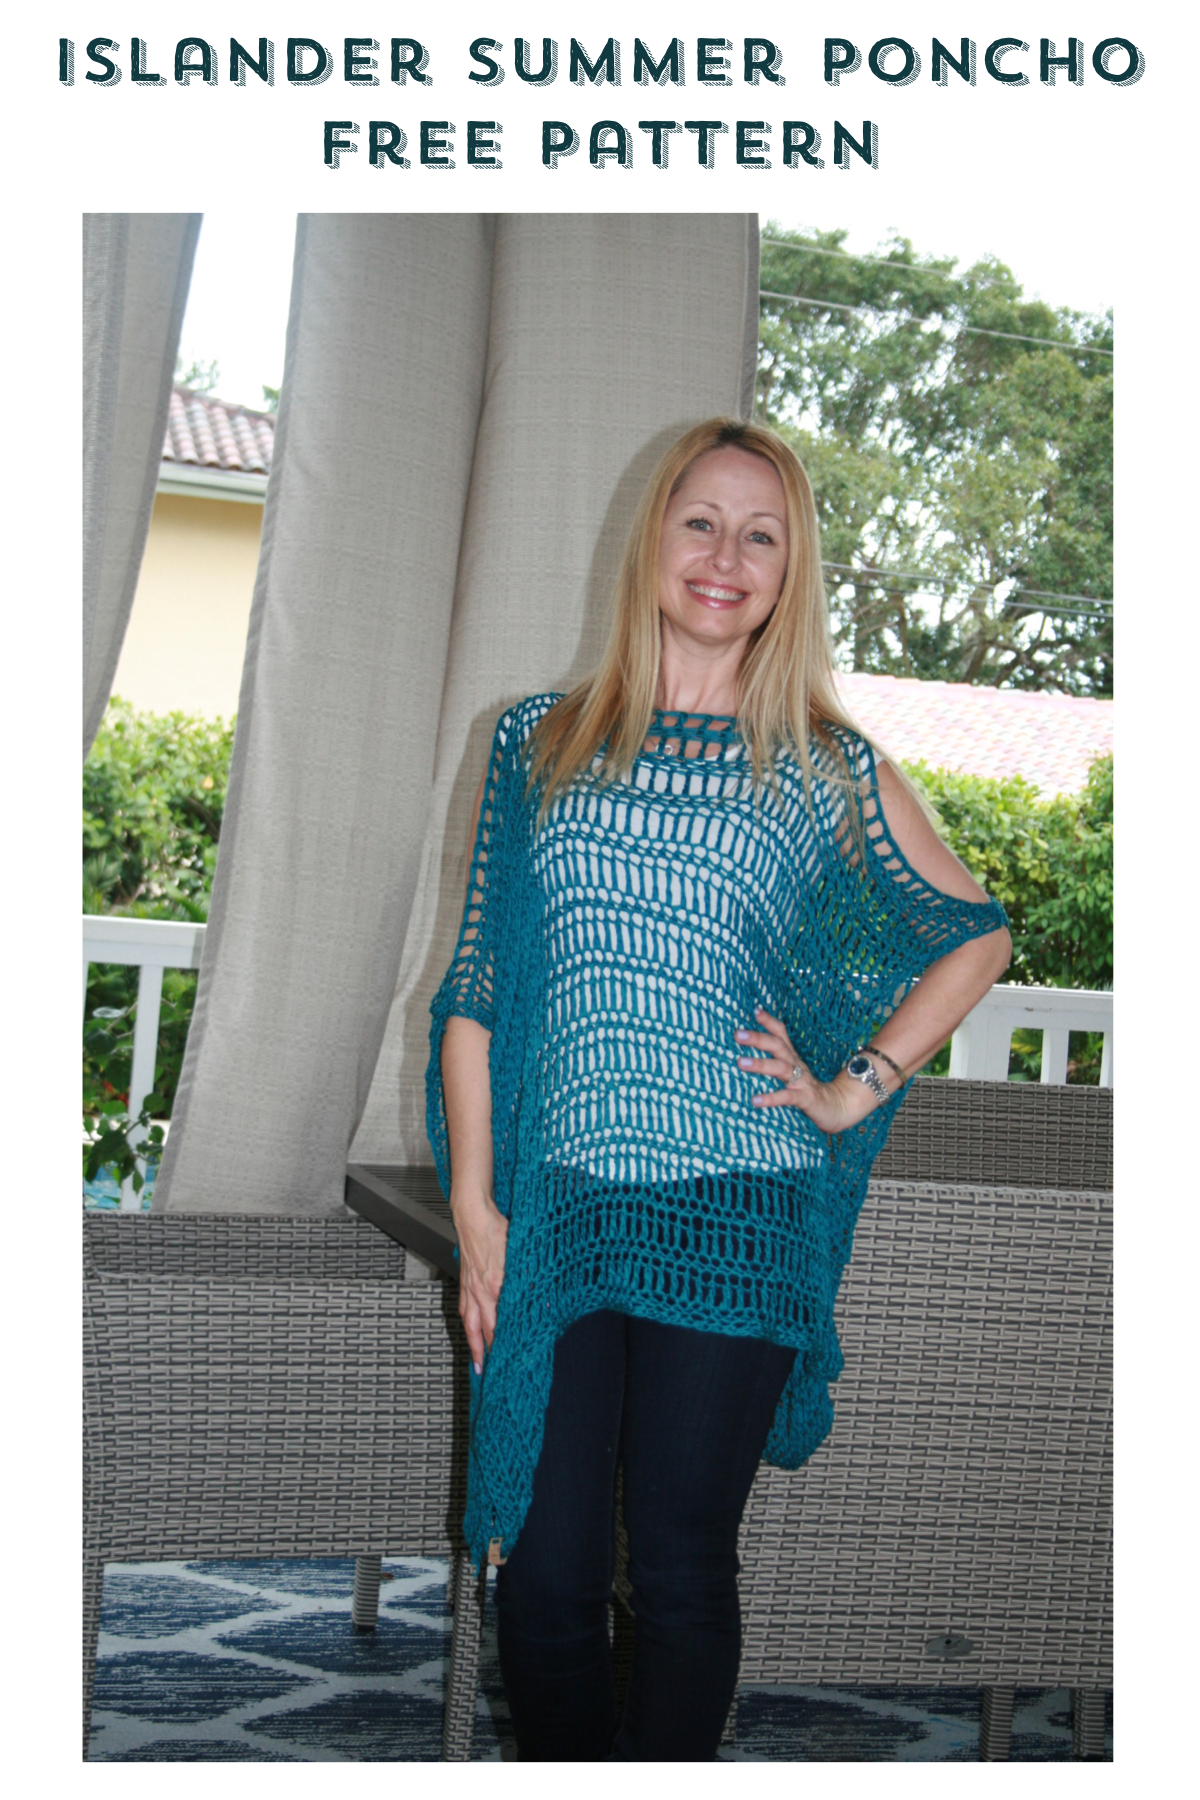
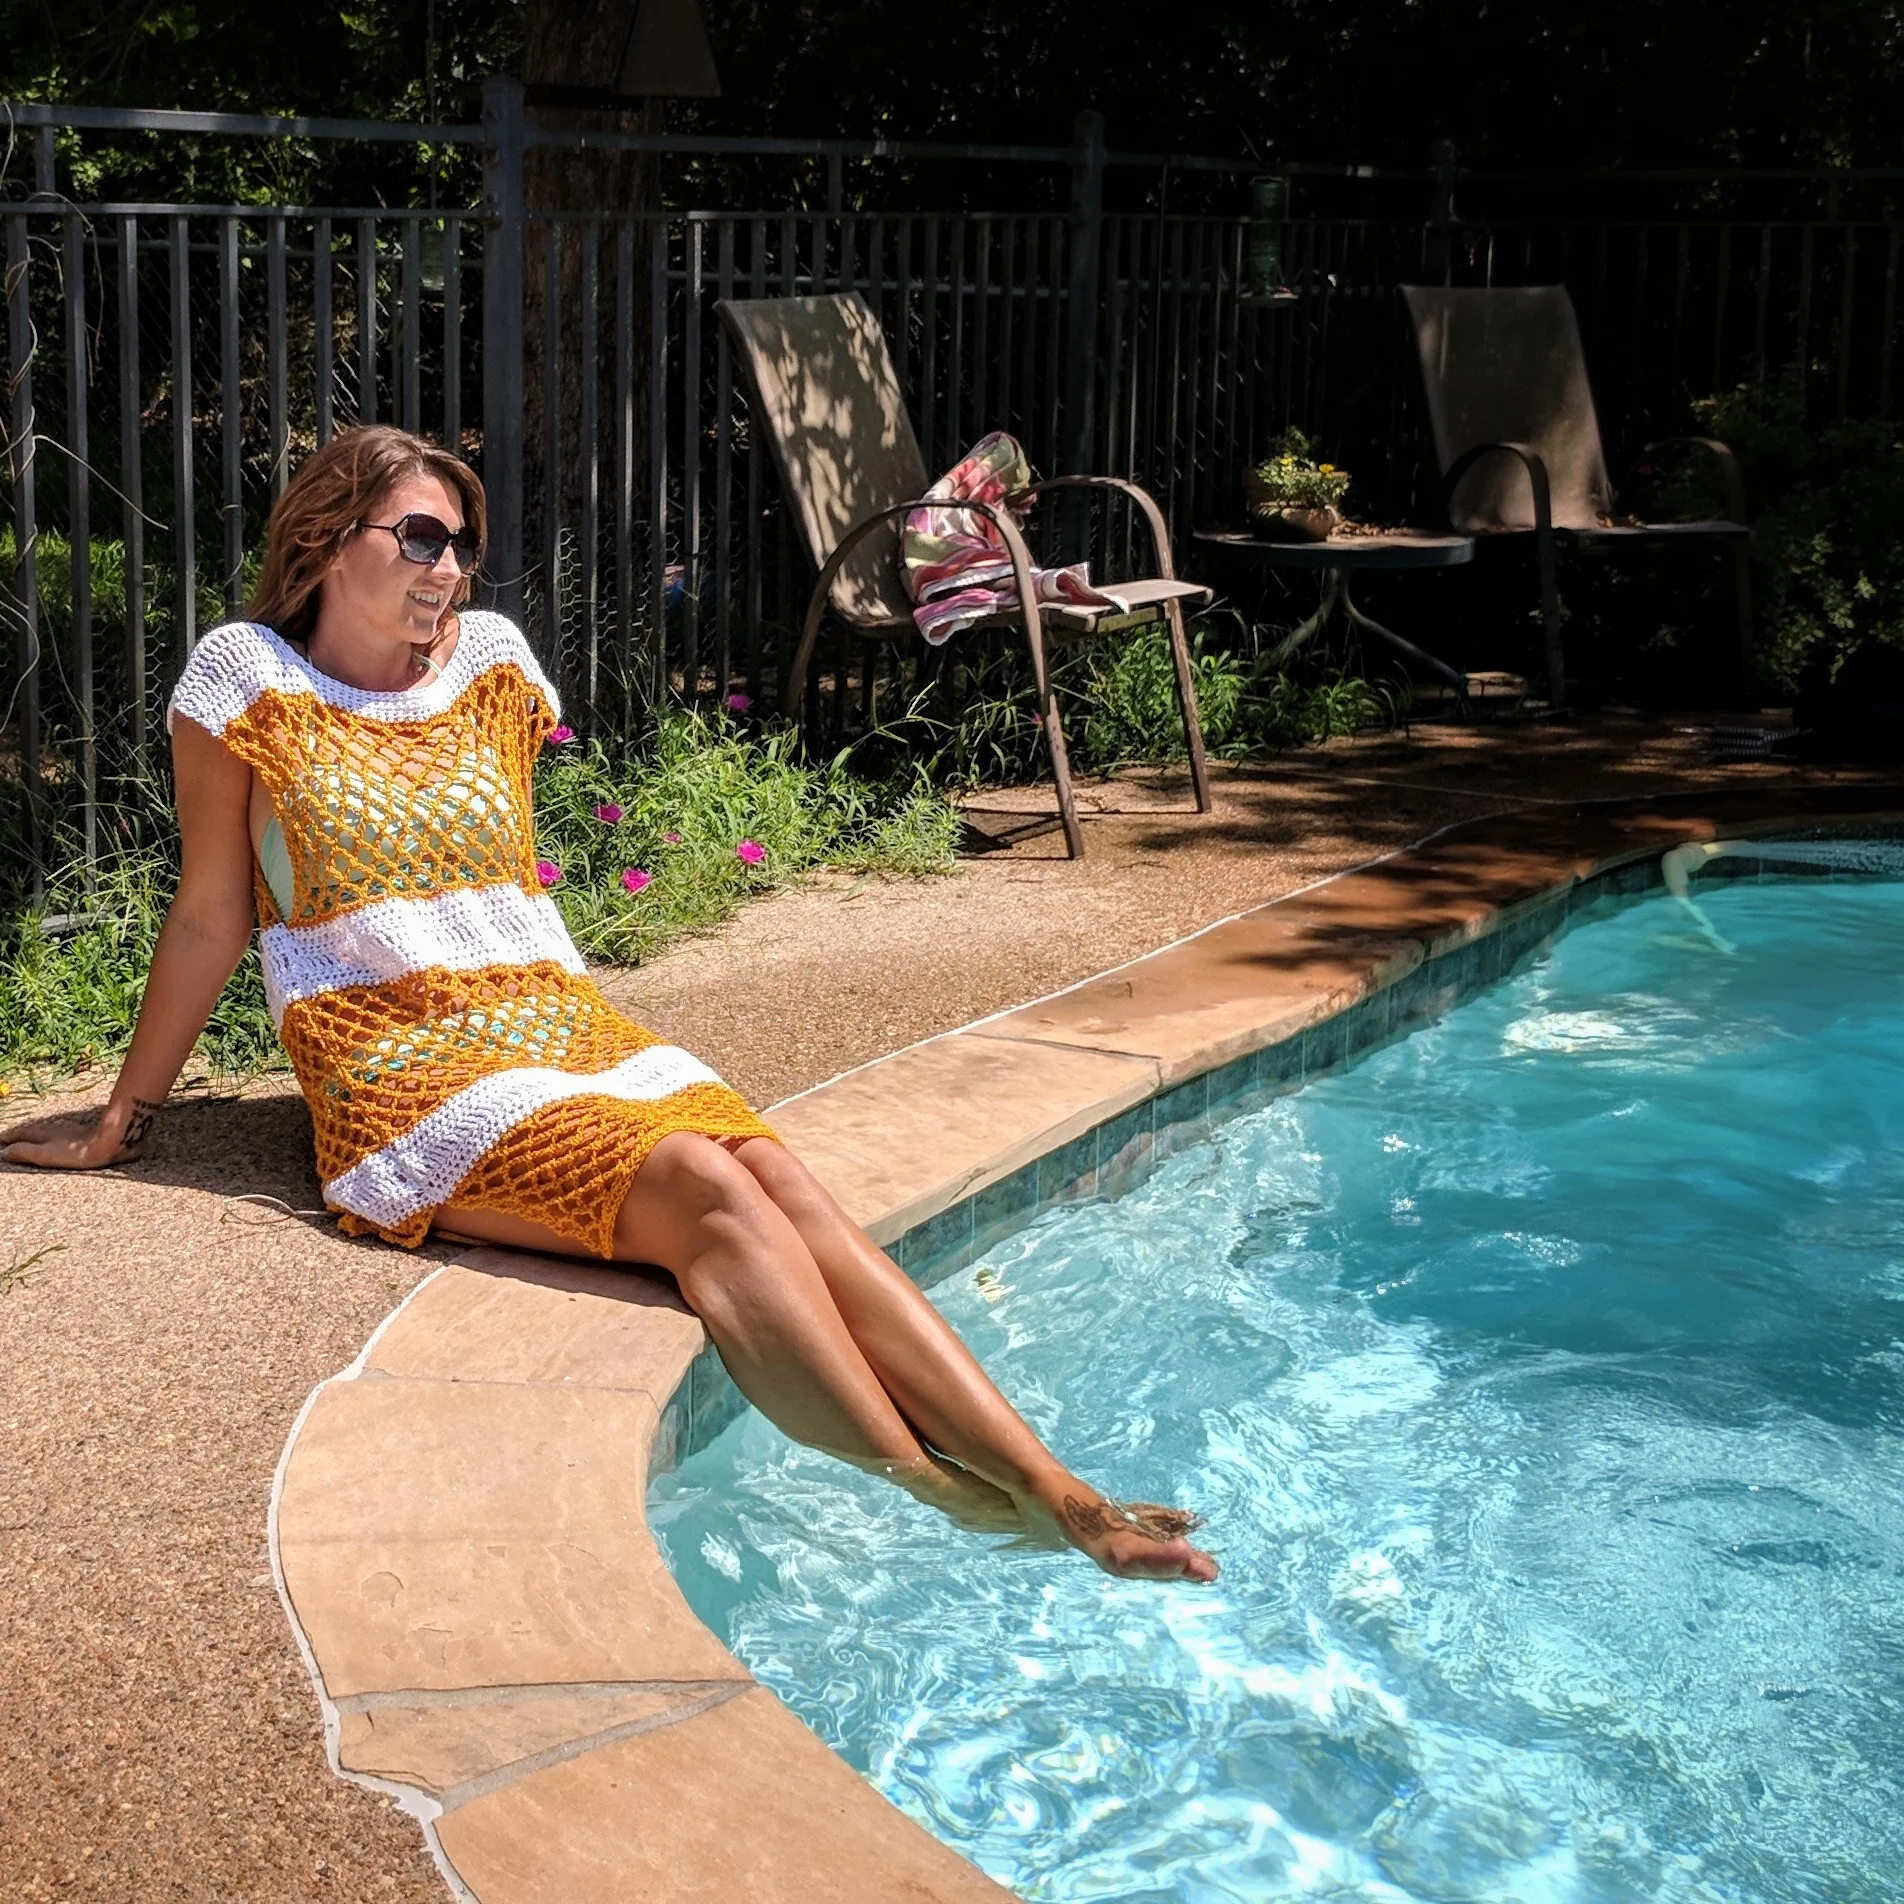
Landscape Tee Free Crochet Pattern

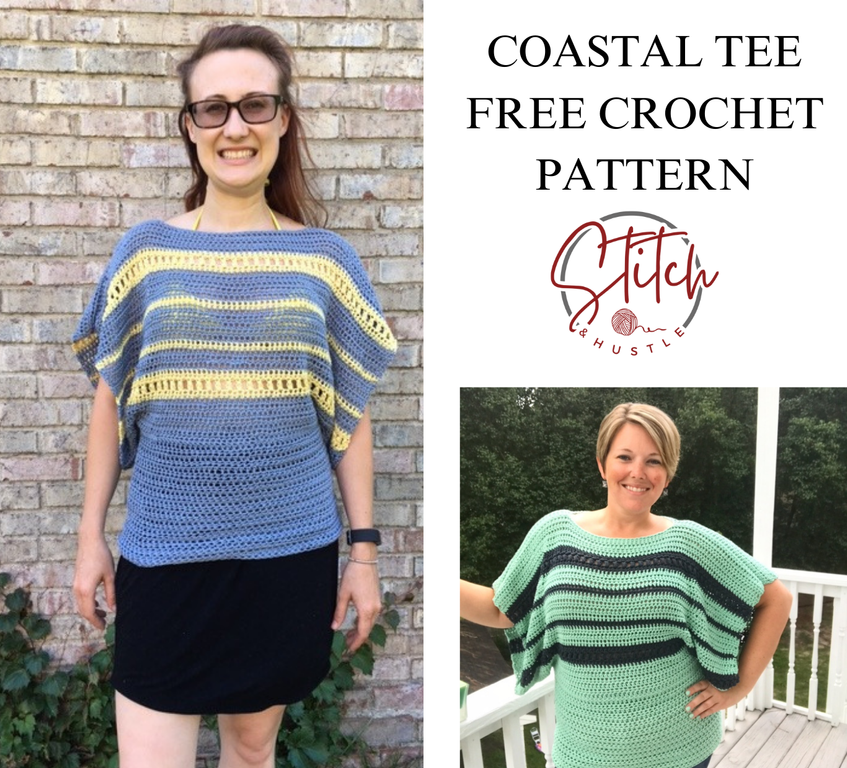
I’m so happy to share my newest free crochet pattern with you - the Landscape Tee! This project is yet another pattern created in collaboration with Handspun Hope and features their beautiful Handspun Hope DK yarn. (You can read more about the collaboration here. Other patterns in the collection can be found here. There’s even a free knitting pattern here!)

The Landscape Tee free crochet pattern includes instructions for NINE sizes and features a fresh, modern silhouette. I love how much movement the wide sleeves allow. Talk about comfort! Short sleeves make it a warm-weather staple but a change in fiber choice would adapt it to be a fun wardrobe addition for cooler months as well.

The Landscape Tee has a few intermediate crochet techniques. Which makes it the perfect opportunity for beginners to stretch their skills! And short sleeves mean you are off Sleeve Island in a jiffy.

Let’s fill the world with more handmade beauty. Happy crocheting!

Skill Level: Intermediate

Materials:
Handspun Hope DK – Approx 173 Yards Per Skein (Shown in Onion Skin & Logwood)
Color A: 260 (290, 340, 400, 430, 490, 530, 590, 630) yards
Color B: 300 (345, 405, 470, 515, 585, 630, 705, 755) yards

US J / 6 mm crochet hook
Fasteners (for assembly)
Tapestry needle to weave ends
Fasteners or safety pins

Gauge:
11 sts x 7 rows in alternating hdc & dc rows = 4” sq.

Sizes:
XS (S, M, L, 1X, 2X, 3X, 4X, 5X), shown in S Size

Finished Bust:
33.5 (37.75, 42.25, 46.5, 51, 55.25, 59.75, 64, 68.25)”

Abbreviations:
fsc – foundation half double crochet
ch – chain loop
sc – single crochet
hdc – half double crochet
dc – double crochet
sl st – slip stitch
st(s) – stitch (es)
RS – Right Side
WS – Wrong Side

This pattern is written for Adult Woman size XS. Sizes (S, M, L, 1X, 2X, 3X, 4X, 5X) in parentheses

Block BEFORE assembly.

The two main panels are joined at the shoulders and sides, as shown on the schematic, using the mattress stitch method then sleeves are added.

Note: Handspun Hope yarn is hand-spun and hand dyed by skilled craftspeople in Rwanda. Like all handspun yarn, yardage and thickness may vary slightly from skein to skein. We recommend that you alternate skeins while working this project.

MAKE 2 PANELS

BEGIN WITH COLOR A

BAND:
Row 1: fsc x10 *** (alternate: ch 9, turn, ch 1, 9x sc across) ***
Row 2 and on: turn, ch 1 (does not act as a st), 10x sc in back loop only
Rows 3-46 (52, 58, 64, 70, 76, 82, 88, 94): Rep Row 2.
DO NOT CUT YARN – you will go directly to work the body

Row 1 (RS): Ch 1 (does not act as a st), 46 (52, 58, 64, 70, 76, 82, 88, 94) sc across

CHANGE TO COLOR B

Row 2 (WS): Ch 2 (acts as first st), 45 (51, 57, 63, 69, 75, 81, 87, 93) dc across, Turn.
Row 3 (RS): Ch 1 (does not act as a st), 46 (52, 58, 64, 70, 76, 82, 88, 94) hdc across, Turn. Rows 4-15 (15, 17, 17, 17, 19, 19, 19, 19): Repeat Rows 2 & 3.

CHANGE TO COLOR A

Row 16 (16, 18, 18, 18, 20, 20, 20, 20) (WS): Ch 2 (acts as first st), 45 (51, 57, 63, 69, 75, 81, 87, 93) dc across, Turn.
Row17(17,19,19,19,21,21,21,21)(RS): Ch1(doesnotactasast),46(52,58,64,70,76,82,88,94) hdc across, Turn.

Row 18 (18, 20, 20, 20, 22, 22, 22, 22) (WS): Ch 2 (acts as first st), 45 (51, 57, 63, 69, 75, 81, 87, 93) dc across, Turn.

CHANGE TO COLOR B

Rows 19 (19, 21, 21, 21, 23, 23, 23, 23)-30 (30, 32, 34, 34, 36, 36, 38, 38): Repeat Rows 2 & 3.

CHANGE TO COLOR A

Row 31 (31, 33, 35, 35, 37, 37, 39, 39) (RS): Ch 2 (acts as first st), 45 (51, 57, 63, 69, 75, 81, 87, 93) dc across, Turn.
Row 32 (32, 34, 36, 36, 38, 38, 40, 40) (WS): Ch 1 (does not act as a st), 12 (15, 18, 20, 23, 26, 28, 31, 34) hdc, 22 (22, 22, 24, 24, 24, 26, 26, 26) sc, 12 (15, 18, 20, 23, 26, 28, 31, 34) hdc across, Turn.
Row 33 (33, 35, 37, 37, 39, 39, 41, 41) (RS): Ch 2 (acts as first st), 11 (14, 17, 19, 22, 25, 27, 30, 33) dc, 22 (22, 22, 24, 24, 24, 26, 26, 26) sc, 12 (15, 18, 20, 23, 26, 28, 31, 34) dc across, Turn.

BLOCK BOTH PANELS BEFORE ASSEMBLY

ASSEMBLY – SAME FOR ALL SIZES
Marry the tops of your panels together with WS facing.

Shoulder Seams:
Using the Mattress Stitch Method, seam together approx. 12 (15, 18, 20, 23, 26, 28, 31, 34) sts beginning at outside corner of shoulder and working toward neck opening. Fasten off.
Repeat for other shoulder, leaving center 22 (22, 22, 24, 24, 24, 26, 26, 26) sts unworked for neck opening.

Side Seams / Creating Armholes:
Using the Mattress Stitch Method, seam together beg. at bottom edge and working toward shoulder, leaving approx. 8.5 (9, 9.5, 10, 10.5, 11, 11.5, 12, 12.5)” for armhole opening. Fasten off.
Repeat for other side seam.

TURN RIGHT SIDE OUT FOR SLEEVES.

Note: The Sleeves are worked sideways and joined to the body at the end of every other row. AND ADDED AFTER ASSEMBLY

SLEEVES - COLOR A

Set Up Round (RS): begin at underarm, work approx 46 (50, 52, 56, 58, 60, 64, 66, 68) Sc evenly all the way around around entire armhole opening.

When you get to the opposite bottom corner, sl st to join round, then:

Row 1: F sc 11, turn.
Row 2: Ch 1(does not act as a st), 11 sc in back loop only, sl st to the NEXT sc on the set up round
Row 3: Sl st to the NEXT sc on the set up round, Turn, 11 sc in back loop only, Turn.
Alternate Rows 2 & 3 until you reach all the way around to Row 1, fasten off leaving a 12” tail.

Use Tail to join sides of sleeve ribbing. Repeat on other side.
Weave in all ends.

Lakefront Peplum Top Free Crochet Pattern

 We are so excited to bring you the Lakefront Peplum Top Free Crochet Pattern just in time for warm weather and summer outing! The Lakefront Peplum Top Free Crochet Pattern is a wonderful pattern for adventurous beginners looking to make shapely garments. The Peplum bottom has a subtle flair and you can easily modify the straps to suit any length.

Like the In The Loop Top Free Crochet Pattern, Lakefront Peplum Top Pattern was originally part of the 2019 Knitcrate Bonanza of Patterns and I am so excited to now be bringing it to you for free. Make the Lakefront Peplum Top Free Crochet Pattern with your favorite DK weight yarn.

Lakefront_Tunic_single3.jpg

You can always get the ad free pattern pdf here with full schematics too.

Sizes: Extra Small (Small, Medium, Large, 1X, 2X, 3X, 4X)
Finished Measurements
Bust: 
32 (36.25, 40.5, 44.75, 49, 53.25, 57.5, 61.75)"

Supply List:
Category #3 DK yarn - 490 (580, 650, 730, 830, 910, 1150, 1270) yards
Crochet Hook Size H/ 5mm
Tapestry needle to weave ends
Tape Measure
Fasteners or safety pins

GAUGE: 4” sq  =  15 sts  x 11 rows  in hdc stitch

Stitches Used / Abbreviations:
fhdc – foundation half double crochet
ch – chain loop
dc – double crochet

hdc – half double crochet
sl st – slip stitch 
dc2tog – dc 2 together 
sp – space 
(RS) – Right Side 
(WS) – Wrong Side 

 NOTES:  
This pattern is written for Adult Woman Extra Small. (Sizes Small, Medium, Large, 1X, 2X, 3X, 4X in parentheses)
This top is intended to fit with up to two inches of positive ease.
This pattern is made in two panels, front & back.  
Front and back pieces are worked from the bottom up.
Each panel has a Right Side & Wrong Side

Assembly calls for Mattress Stitch Method, if you do not know this you can whip stitch instead. 
Block BEFORE assembly. See Stitch & Hustle Blog for my blocking tips

Lakefront_Tunic_single1.jpg

FRONT PANEL:
Row 1: 
Fhdc x 64 (72, 80, 88, 96, 104, 112, 120)) turn.

Row 2: Ch 2 (as first dc), 63 (71, 79, 87, 95, 103, 111, 119)x dc across for total 64 (72, 80, 88, 96, 104, 112, 120)) dc incl ch 2. (RS)
Row 3: Ch 1 (as first sc), 63 (71, 79, 87, 95, 103, 111, 119)x sc across for total 64 (72, 80, 88, 96, 104, 112, 120)) sc incl ch 1. (WS)
Rows 4 – 13: Repeat rows 2 & 3 alternating (ending with WS) 

SHAPE WAIST:

Row 14: 
Ch 2 (as first dc), [dc2tog] 2 times, 54 (62, 70, 78, 86, 94, 102, 110) x dc across 2x dc2tog, dc in last for total 60 (68, 76, 84, 92, 100, 108, 116) dc incl ch 2. (RS)

Row 15: Ch 1 (as first sc), 59 (67, 75, 83, 91, 99, 107, 115)x sc across for total 60 (68, 76, 84, 92, 100, 108, 116) sc incl ch 1. (WS)
Row 16: Ch 2 (as first dc), [dc2tog] 2 times, 46 (58, 66, 74, 82, 90, 98, 106) x dc across 2x dc2tog, dc in last for total 56 (64, 72, 80, 88, 96, 104, 112) dc incl ch 2. (RS)

Lakefront_Tunic_collage1.jpg

CONTINUE TO BODICE:
Row 17: 
Ch 1 (as first sc), 55 (63, 71, 79, 87, 95, 103, 111)x sc across for total 56 (64, 72, 80, 88, 96, 104, 112) sc incl ch 1. (WS)
Row 18: Ch 2 (as first dc), 55 (63, 71, 79, 87, 95, 103, 111)x dc across for total 56 (64, 72, 80, 88, 96, 104, 112)dc incl ch 2. (RS)
Row 19: Ch 1 (as first sc), 55 (63, 71, 79, 87, 95, 103, 111)x sc across for total 56 (64, 72, 80, 88, 96, 104, 112) sc incl ch 1. (WS)
Rows 20 – 43: Repeat rows 18 & 19 alternating (ending with WS).

SHAPE ARMHOLE:
Row 1: 
Ch 2 (as first dc), [dc2tog] 2 times, dc across to last 5 stitches then [dc2tog] 2 times, dc in last; 4 stitches decreased, 52 (60, 68, 76, 84, 92, 100, 108) stitches remain (RS)

Row 2: Ch 1 (does NOT act as first sc), 52 (60, 68, 76, 84, 92, 100, 108)x sc across for total , 52 (60, 68, 76, 84, 92, 100, 108) sc 
Repeat Rows 1-2:  2 (3, 4, 5, 6, 7, 8, 9) more times for total of 44 (48, 52, 56, 60, 64, 68, 72) stitches remaining 

SHAPE NECK / MAKE FIRST STRAP:
Rows 1-2: 
Ch 1 (does NOT act as first sc), 44 (48, 52, 56, 60, 64, 68, 72) x sc across for total 44 (48, 52, 56, 60, 64, 68, 72) sc 

Row 3: Ch 2 (acts as first hdc), 6 (6, 7, 7, 8, 8, 9, 9) hdc, 30 (34, 36, 40, 42, 46, 48, 52) sc across, 7 (7, 8, 8, 9, 9, 10, 10) hdc, turn.
Row 4: Ch 2 (acts as first hdc), 5 (5, 6, 6, 7, 7, 8, 8) hdc, hdc2tog, hdc, TURN.

Row 5: Ch 2 (acts as first hdc), 4 (4, 5, 5, 6, 6, 7, 7) hdc, hdc2tog TURN.

Rows 6 12 (12, 14, 16, 18, 18, 21, 24) *** OR TO DESIRED LENGTH*** : Ch 2 (acts as first hdc), 5 (5, 6, 6, 7, 7, 8, 8)x hdc across, TURN. 

Fasten, leaving long tail for assembly (approx. 6 inches) 

Lakefront_Tunic diagram.jpg

CONTINUE SHAPING NECK / SECOND STRAP
Rejoin yarn at other side corner and work Rows 3-12 (12, 14, 16, 18, 18, 21, 24) *** OR TO DESIRED LENGTH***:  as for First Strap. 

BACK PANEL:
Work as for Front Panel through Row 2 of SHAPE NECK / MAKE STRAPS.
Fasten off back panel.

ASSEMBLY 
Marry your two panels with RS facing each other.  This is now inside out.

Using your stitch marker or fastener, pin sides of panels together at Row 1 beginning armhole shaping. Using mattress stitch method, attach the sides working from the bottom to the fastener on each side. After top is assembled 
TURN RIGHT SIDE OUT then
Using mattress stitch method, connect the straps on each side.
Weave in all ends. 

Lakefront_Tunic_single1-2.jpg

Bayside Tank Top Free Crochet Pattern

The Bayside Tank Top Free Crochet Pattern may be one of my favorites ever. It is the kind of pattern that works up quickly, is great for all levels and creates the kind of garment I will wear over and over again. I have made several of these in a few colors.

The Bayside Tank Top Free Crochet Pattern has a hint of detail at the waist that magically creates the shape without having to do much shaping work in the stitching. This is the the beauty of the design and makes it a very beginner friendly pattern.

Untitled-2.jpg

Supply List:
Category #4 worsted weight  cotton
Main Color  350 (375, 400, 425, 450, 475, 500, 525) yds
Contrast Color 75 (85, 95, 110, 125, 150, 175, 200) yds
Wool And The Gang Shiny Happy Cotton shown here in Size Small
Crochet Hook Size I-9 / 5.5 mm
Tapestry needle to weave ends
Tape Measure
Fasteners or safety pins

Stitches Used / Abbreviations:
fhdc – foundation half double crochet
ch – chain loop
sc – single crochet
hdc – half double crochet
dc – double crochet
sl st – slip stitch
hdc2tog – hdc 2 together
dc4tog – dc 4 together
dc3tog – dc 3 together
sp - space

Sizes: Extra Small (Small, Medium, Large, 1X, 2X, 3X, 4X)

Finished Measurements Bust: 36.5 (39.5, 42, 45, 48, 51, 54, 56.5)”

GAUGE: 4” square  =  11 sts  x 10 rows  in hdc stitch

NOTES: 
This pattern is written for Adult Woman Extra Small. (Size Small, Med, Large,1X, 2X, 3X, 4X in parentheses).
This top is intended to fit with up to several inches of positive ease.
This pattern is made in two panels, front & back and then the bottom “skirt” is added after bust assembly
Assembly calls for Mattress Stitch Method, if you do not know this you can whip stitch instead.
READ THROUGH PATTERN BEFORE BEGINNING
Block BEFORE assembly.

Untitled.jpg

MAKE 2 PANELS IN MAIN COLOR:
Row 1:
 Fhdc x 50 (54, 58, 62, 66, 70, 74, 78), turn.
Rows 2 - 16: Ch 2 (acts as first hdc), 49 (53, 57, 61, 65, 69, 73, 77)x hdc across for total 50 (54, 58, 62, 66, 70, 74, 78) hdc incl ch 2.

Begin Shaping Armhole:
Row 17:
 Ch 2 (acts as first hdc), [hdc2tog] 2 times, hdc across to last 4 stitches then [hdc2tog] 2 times, 4 stitches decreased, 46 (50, 54, 58, 62, 66, 70, 74) stitches remain.
Rows 18 - 19: Repeat Row 17, 38 (42, 46, 50, 54, 58, 62, 66) stitches remain.
Rows 20 – 27 (28, 29, 30, 31, 32, 33, 34): Ch 2 (acts as first hdc), hdc across for total 38 (42, 46, 50, 54, 58, 62, 66) hdc incl ch 2.

Shape Neck & Make First Strap:
Row 28 (29, 30, 31, 32, 33, 34, 35):
 Ch 2 (acts as first hdc), 5 (6, 7, 10, 11, 13, 14, 16)x hdc, hdc2tog, hdc, TURN. Total 8 (9, 10, 13, 14, 16, 17, 19) hdc - incl ch 2.
Row 29 (30, 31, 32, 33, 34, 35, 36): Ch 2 (acts as first hdc), 7 (8, 9, 12, 13, 15, 16, 18)x hdc across, TURN. Total 8 (9, 10, 13, 14, 16, 17, 19) hdc - incl ch 2.
Row 30 (31, 32, 33, 34, 35, 36, 37): Ch 2 (acts as first hdc), 5 (6, 7, 10, 11, 13, 14, 16)x hdc, hdc2tog TURN. Total 7 (8, 9, 12, 13, 15, 16, 18) hdc - incl ch 2.
Row 31 (32, 33, 34, 35, 36, 37, 38): Ch 2 (acts as first hdc), hdc2tog, 4 (5, 6, 9, 10, 12, 13, 15)x hdc, TURN. Total 6 (7, 8, 11, 12, 14, 15, 17) hdc - incl ch 2.
Rows 32 (33, 34, 35, 36, 37, 38, 39) – 34 (35, 36, 37, 38, 39, 40, 41): Ch 2 (acts as first hdc), 5 (6, 7, 10, 11, 13, 14, 16)x hdc across, TURN. Total 6 (7, 8, 11, 12, 14, 15, 17) hdc - incl ch 2. each row.
Fasten, leaving long tail for assembly (approx. 6 inches)

Continue Shaping Neck & Make Second Strap:
Rejoin yarn at other side and work as for First Strap.

ASSEMBLY
Marry your two panels with one strap on each side and this will now be INSIDE OUT.
Using your stitch marker or fastener, pin sides of panels together at Row 17 beginning armhole shaping on each side.
Using long tail from bottom, and using mattress stitch method, join sides working from the bottom to the fastener on each side.
Again, using mattress stitch, connect the straps on each side.
After top is assembled TURN RIGHT SIDE OUT then:

CONTINUE WITH MAIN COLOR:
Rounds 1 -3 : 
Ch 2 (acts as first hdc), 99 (107, 115, 123, 131, 139, 147, 155)x hdc around, sl st to top of ch 2, total 100 (108, 116, 124, 132, 140, 148, 156) incl ch 2.

Large, 1X, 2X, 3X, 4X Sizes only:
Rounds 4-6: 
Rounds 4-6: Ch 2 (acts as first hdc), 99 (107, 115, 123, 131, 139, 147, 155)x hdc around, sl st to top of ch 2, total 100 (108, 116, 124, 132, 140, 148, 156) hdc incl ch 2.

Size 3X, 4X only:
Round 7: 
Ch 2 (acts as first hdc), 99 (107, 115, 123, 131, 139, 147, 155)x hdc around, sl st to top of ch 2, total 100 (108, 116, 124, 132, 140, 148, 156) hdc incl ch 2.

Bayside_Tank_chart.jpg

WAIST:  
NOTE: There is no decrease because the pattern will naturally “cinch” by design
CHANGE TO CONTRAST COLOR
Round 1: 
: Ch 2 (acts as first hdc), 99 (107, 115, 123, 131, 139, 147, 155) hdc around, sl st to top of ch 2, total 100 (108, 116, 124, 132, 140, 148, 156) hdc incl ch 2.
Round 2: Ch 3 (acts as first dc), dc3tog in next 3 sts, Ch 5 *dc4tog in next 4 sts, ch 5* repeat * to * around to first ch 3, then end with ch 2, dc into dc4tog where the row began.
Round 3: * Ch 5, sc into third ch of next ch 5 group * repeat * to * around then end with ch 3 then dc into ch 1 that began round.
Round 4: Ch 2 (acts as dc), dc in same, [4x dc into third ch of next ch 5 group] all the way around then 2x dc into same sp as starting ch 2, sl st to ch 2 to complete round.
Round 5: Ch 2 (acts as first hdc), 99 (107, 115, 123, 131, 139, 147, 155)x hdc in each dc around, sl st to top of ch 2, total 100 (108, 116, 124, 132, 140, 148, 155) hdc incl ch 2.

BOTTOM / HIP INCREASE:
CHANGE  TO MAIN COLOR AND BEGIN HIP INCREASE:
Round 1: 
: Ch 2 (acts as first hdc), 99 (107, 115, 123, 131, 139, 147, 155)x hdc around, sl st to top of ch 2, total 100 (108, 116, 124, 132, 140, 148, 156) hdc incl ch 2
Round 2: Ch 2 (acts as first hdc), 48 (52, 56, 60, 64, 68, 72, 76)x hdc, 2 hdc in next 2 hdc, 48 (52, 56, 60, 64, 68, 72, 76)x hdc, 2 hdc in last hdc, sl st to top of ch 2, total 104 (112, 120, 128, 136, 144, 152, 160) hdc incl ch 2.
Round 3: Ch 2 (acts as first hdc), 50 (54, 58, 62, 66, 70, 74, 78)x hdc, 2 hdc in each of next 2 hdc, 50 (54, 58, 62, 66, 70, 74, 78)x hdc, 2 hdc in last hdc, sl st to top of ch 2, total 108 (116, 124, 132, 140, 148, 156, 164) hdc incl ch 2.
Round 4-10 Ch 2 (acts as first hdc), 107 (115, 123, 131, 139, 147, 155, 163)x hdc around, sl st to join to ch 2 for total 108 (116, 124, 132, 140, 148, 156, 164) hdc incl ch 2.

Bayside_Tank_schematic.jpg

FINISHING & TRIM:
NECK EDGING:
Attach MAIN color at back center of neckline , Then:
Ch 1, sc across working 1 sc in each hdc and 2 sc in each ch-2, sc in each hdc across the front neckline, sc in each hdc up the second strap and 2 sc in each ch-2, sc in each hdc across back neckline, sl st to beg ch 1. 

CHANGE TO CONTRAST COLOR
Ch 1, sc around neckline and sl st to ch 1 to join and complete. 
Fasten off.

ARM EDGING:
Attach MAIN color at back where strap begins , Then:
Ch 1, sc up the strap and around each armhole placing 1 sc in each hdc and 2 sc in each ch-2.

CHANGE TO CONTRAST COLOR
Ch 1, sc around armhole and sl st to ch 1 to join and complete. 
Fasten off.
Repeat on other side.
Weave in all ends.

Bayside_Tank_1.jpg

MORE FREE PATTERNS YOU MAY ENJOY

Stunning Beginner Lace Wrap Free Pattern

Stunning Beginner Lace Wrap Free Pattern

I have been having such a love affair with the Plump DK Yarn from Stunning String. It is such an incredibly soft fiber and so great to work up. I designed this beginner friendly lace shawl for their Learn To Knit Series. It is a great first step into lace or a wonderfully meditative pattern for the most experienced knitters.

Read More

Signal Cascading Vest Free Crochet Pattern

Signal Cascading Vest Free Crochet Pattern

I love layering season while we transition to cooler weather. It is an opportunity to really pop my wardrobe with handmade accents. And working with KnitCrate to create a month of beautiful transitional patterns was just a joy. This vest is the perfect piece to pop some color and an extra layer to your outfit. It works up quickly and is a great piece for beginners.

Read More

Crochet Flower Crown Free Pattern And Tutorial

Crochet Flower Crown Free Pattern And Tutorial

With this wonderful beginner friendly CROCHET pattern and video tutorial Nancy Ricci shows us how to make all the flowers you like! Watch the tutorial on how to attach them and create the perfect flower headband or crown. Get adventurous and try to make the knitting pattern too and mix up your flowers like we did.

Read More

Reflections Shawl Mommy & Me Free Crochet Pattern

Reflections Shawl Mommy & Me Free Crochet Pattern

This pattern is a joy to work up. Great for beginners looking to explore specific pattern stitches and create a new shape. The trim line is done in a fabulous classic picot giving it the finishing touch. We hope you love to make these fo yourself or your littles. This post includes affiliate links. Read full blog disclosure here.

Read More